JSON Web Token (JWT) are used in the network communication to pass information between parties. In particular they used to communicate with Identity Providers to exchange signed JWT also known as JWS for authorization tokens and then access tokens.
If it sounds confusing at first it is. And then there are more acronyms like JWA, JWKS etc. But don’t be frustrated. There are a couple of resources that can make you life easier as a developer.
I’ll focus in this post on Java language, but the information mention here is applicable to other languages too. You simply need to search for particular tools in that language or framework.
What is an encoded JWT?
If you need to be able to decode encoded JWT, than there is no other source then Auth0 web site to do just that

There you can decode a JWT or JWS to check that is has proper structure and content. Which is very helpful when you iterate to integrate with Identity Provider API.
I need to understand this in depth
The best source to learn about the JWT and the like is the The JWT Handbook by Sebastián E. Peyrott from Auth0 company. You also can download it for free, by providing them with your email and filling in a basic form here. This book provides very detailed explanation about JSON Web Token with lots of practical examples. Some of them we’ll use next.

How to generate private and public keys to be able to get a JSON Web Key (JWK)?
The JWT Handbook comes in handy since on the page 39 it exactly shows how to do it using RSA256 algorithm and Linux tools. In this case it is OpenSSL library. Since Windows does not have such a tool out of the box I suggest you to check Windows Subsystem for Linux 2 (WSL 2) that you can install on Windows 10 and higher within minutes (literally) and get Ubuntu, CentOS and other distributions running natively on Windows! Here come two guides on how to do it.
- How to install Linux on Windows with WSL
- Install Ubuntu on WSL2 and get started with graphical applications
I followed the steps in the second bullet point and have my Ubuntu up and running locally

Use OpenSSL to generate private and public keys
Now, that Ubuntu is on Windows let’s generate private key and then use it to generate a public key
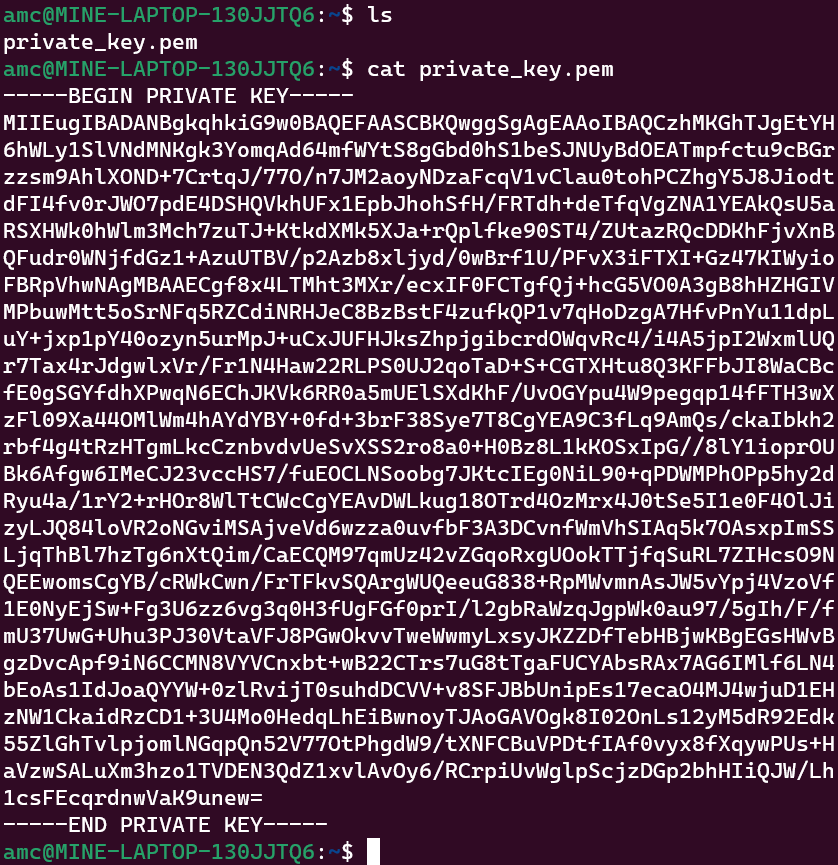
Private key generation
openssl genpkey -algorithm RSA -out private_key.pem -pkeyopt rsa_keygen_bits:2048
You end up with the text file in your file system with the key inside
test@xyz:~$ ls
private_key.pem
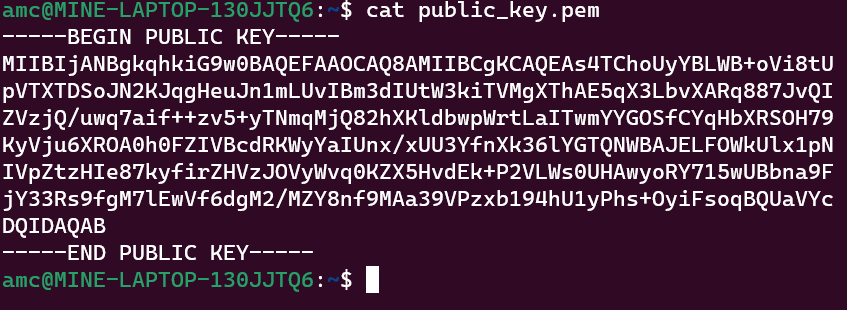
Public key generation
openssl rsa -pubout -in private_key.pem -out public_key.pem
amc@MINE-LAPTOP-130JJTQ6:~$ ls
private_key.pem  public_key.pem
Generating JWK
The steps below rely on the the tutorial about how to use Nimbus JOSE + JWT open-source library from connect2id company.
Now that you have these keys let’s say you already was able to read them in you Java code from a file so let’s jump into how you can covert them into JWK
import java.security.*;
import java.security.interfaces.*;
import java.util.*;

import com.nimbusds.jose.jwk.*;
import com.nimbusds.jose.jwk.gen.*;

// Public and private keys from a file. The method calls below are for example only
PublicKey publicK = getPublicKeyFromFile(path);
PrivateKey privateK = getPriavetKeyFromFile(path);

// Convert to JWK format
JWK jwk = new RSAKey.Builder((RSAPublicKey)publicK)
    .privateKey((RSAPrivateKey)privateK)
    .keyUse(KeyUse.SIGNATURE)
    .keyID(UUID.randomUUID().toString())
    .issueTime(new Date())
    .build();

// Output the private and public RSA JWK parameters
System.out.println(jwk);
In the end the output looks like below
{
  "kty" : "RSA",
  "kid" : "cc34c0a0-bd5a-4a3c-a50d-a2a7db7643df",
  "use" : "sig",
  "n"   : "pjdss8ZaDfEH6K6U7GeW2nxDqR4IP049fk1fK0lndimbMMVBdPv_hSpm8T8EtBDxrUdi1OHZfMhUixGaut-3nQ4GG9nM249oxhCtxqqNvEXrmQRGqczyLxuh-fKn9Fg--hS9UpazHpfVAFnB5aCfXoNhPuI8oByyFKMKaOVgHNqP5NBEqabiLftZD3W_lsFCPGuzr4Vp0YS7zS2hDYScC2oOMu4rGU1LcMZf39p3153Cq7bS2Xh6Y-vw5pwzFYZdjQxDn8x8BG3fJ6j8TGLXQsbKH1218_HcUJRvMwdpbUQG5nvA2GXVqLqdwp054Lzk9_B_f1lVrmOKuHjTNHq48w",
  "e"   : "AQAB",
  "d"   : "ksDmucdMJXkFGZxiomNHnroOZxe8AmDLDGO1vhs-POa5PZM7mtUPonxwjVmthmpbZzla-kg55OFfO7YcXhg-Hm2OWTKwm73_rLh3JavaHjvBqsVKuorX3V3RYkSro6HyYIzFJ1Ek7sLxbjDRcDOj4ievSX0oN9l-JZhaDYlPlci5uJsoqro_YrE0PRRWVhtGynd-_aWgQv1YzkfZuMD-hJtDi1Im2humOWxA4eZrFs9eG-whXcOvaSwO4sSGbS99ecQZHM2TcdXeAs1PvjVgQ_dKnZlGN3lTWoWfQP55Z7Tgt8Nf1q4ZAKd-NlMe-7iqCFfsnFwXjSiaOa2CRGZn-Q",
  "p"   : "4A5nU4ahEww7B65yuzmGeCUUi8ikWzv1C81pSyUKvKzu8CX41hp9J6oRaLGesKImYiuVQK47FhZ--wwfpRwHvSxtNU9qXb8ewo-BvadyO1eVrIk4tNV543QlSe7pQAoJGkxCia5rfznAE3InKF4JvIlchyqs0RQ8wx7lULqwnn0",
  "q"   : "ven83GM6SfrmO-TBHbjTk6JhP_3CMsIvmSdo4KrbQNvp4vHO3w1_0zJ3URkmkYGhz2tgPlfd7v1l2I6QkIh4Bumdj6FyFZEBpxjE4MpfdNVcNINvVj87cLyTRmIcaGxmfylY7QErP8GFA-k4UoH_eQmGKGK44TRzYj5hZYGWIC8",
  "dp"  : "lmmU_AG5SGxBhJqb8wxfNXDPJjf__i92BgJT2Vp4pskBbr5PGoyV0HbfUQVMnw977RONEurkR6O6gxZUeCclGt4kQlGZ-m0_XSWx13v9t9DIbheAtgVJ2mQyVDvK4m7aRYlEceFh0PsX8vYDS5o1txgPwb3oXkPTtrmbAGMUBpE",
  "dq"  : "mxRTU3QDyR2EnCv0Nl0TCF90oliJGAHR9HJmBe__EjuCBbwHfcT8OG3hWOv8vpzokQPRl5cQt3NckzX3fs6xlJN4Ai2Hh2zduKFVQ2p-AF2p6Yfahscjtq-GY9cB85NxLy2IXCC0PF--Sq9LOrTE9QV988SJy_yUrAjcZ5MmECk",
  "qi"  : "ldHXIrEmMZVaNwGzDF9WG8sHj2mOZmQpw9yrjLK9hAsmsNr5LTyqWAqJIYZSwPTYWhY4nu2O0EY9G9uYiqewXfCKw_UngrJt8Xwfq1Zruz0YY869zPN4GiE9-9rzdZB33RBw8kIOquY3MK74FMwCihYx_LiU2YTHkaoJ3ncvtvg"
}
Now, you can use that JWK as as Static JWK for integration with Identity Provider if they require one. Which I needed recently actually.
Quick decoding of JWT or JWS
If you need to be able to review the content of JWT or JWS then go no further then JWT Token website
For example, if you have the key below
eyJhbGciOiJIUzI1NiIsInR5cCI6IkpXVCJ9.eyJzdWIiOiIxMjM0NTY3ODkwIiwibmFtZSI6IkpvaG4gRG9lIiwiaWF0IjoxNTE2MjM5MDIyfQ.SflKxwRJSMeKKF2QT4fwpMeJf36POk6yJV_adQssw5cThen it will be decoded into
HEADER:ALGORITHM & TOKEN TYPE

{
  "alg": "HS256",
  "typ": "JWT"
}
PAYLOAD:DATA

{
  "sub": "1234567890",
  "name": "John Doe",
  "iat": 1516239022
}
VERIFY SIGNATURE

HMACSHA256(
  base64UrlEncode(header) + "." +
  base64UrlEncode(payload),

  your-256-bit-secret

) secret base64 encoded
Let’s it for today. I hope you find it useful.
